The BudTrainer Method™ Lesson #7
When & How to Trim & Cure Hemp
(works with AUTOFLOWERS)
Written by cannabis production expert Henrique Dias - Updated on Sep 20, 2024
DISCLAIMER:Everything taught and sold by BudTrainer® is to be used strictly for legal purposes. We do not endorse the production of illegal substances and it is your duty to ensure that you are complying with the law. The words "hemp", "cannabis", "weed", and "marijuana" are used interchangeably to refer to the same plant (legal hemp with less than 0.3% THC) for the purposes of this lesson.
Perfecting Your Harvest with Trimming & Curing
Proper trimming ensures that your buds are clean, potent, and ready to enjoy, while careful curing locks in flavor and potency. Rushing through this process can lead to harsh smoke and degraded cannabinoids, but when done right, you’ll be rewarded with smooth, flavorful, and potent cannabis that showcases your hard work. Let’s go through the steps to make sure your harvest is finished with perfection.
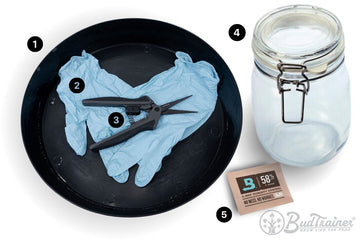
Tools & Materials
- Plastic tray for trim
- Disposable gloves
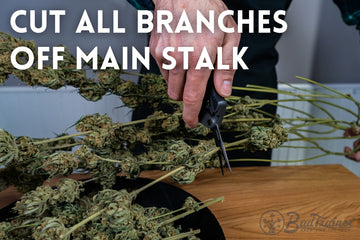
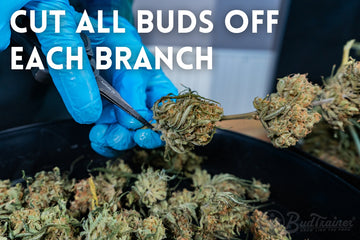
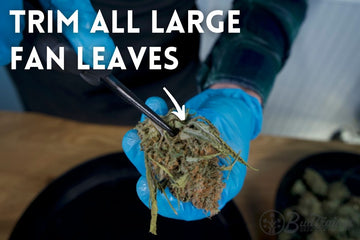
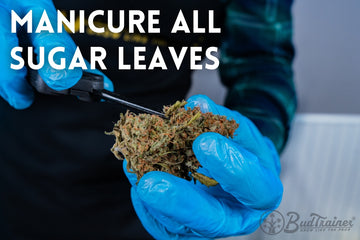
- Trimming scissors
- Glass jars
- 2-way humidity packs
How to Cure Cannabis
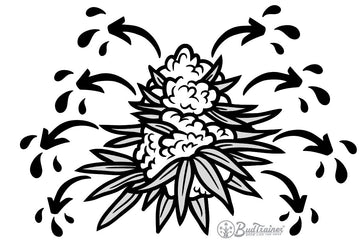
After your buds go through the drying process and your stems are snapping, it doesn’t mean that your flowers are fully dry. It only means that their surface is dry, but the center is still moist. In fact, the core of your bud will always be more moist during the drying process because moisture flows from the inside out.
This is not ideal because it means your weed has different levels of moisture content across its profile - the outside being dry and crunchy (at the ambient 55% RH) and the inside still being soft and wet (at more than 55% RH).
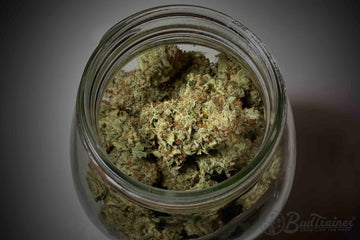
Using Mason Jars
In order to make sure the internal moisture comes back out, you need to cure your buds. Curing involves placing your recently trimmed flowers into airtight containers (we recommend using mason jars that sell everywhere) until the moisture from the inside of the bud has come out and evened out with the dryness from the outside.
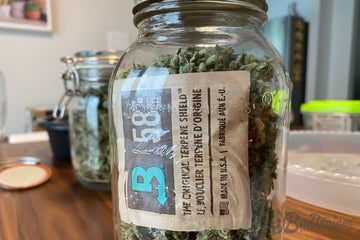
2-Way Humidity Packs
During this process water will be moving from the center of the flowers to the outside, and from the outside into the airtight container. Eventually the relative humidity inside the container will start rising, which is why it is recommended to use a 2-way humidity control pack. These humidity packs have a fixed humidity rating and they either bring the moisture level up or down inside of your container. Here at BudTrainer® we recommend curing cannabis at a relative humidity of 55% to 62%.
"Burping" Your Jars
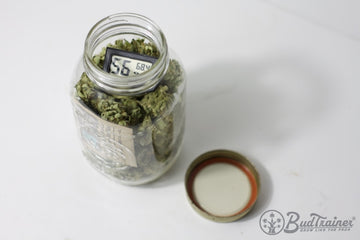
Since there is still a significant amount of moisture to come out of your buds, it is essential that you open your containers (AKA burping) at least twice a day for a minimum of 5 minutes. This will allow the high-humidity air from inside the jar to come out and be replaced by drier air from the outside. To help you know the exact humidity inside your jar, you can buy mini hygrometers on Amazon like the one in the photo below.
When Is Curing Finished?
Curing usually takes 2 to 4 weeks, and this amount of time depends on how much you dried your plants before. Cannabis can be cured for only 1 week and be ready for consumption, or it can cure for 3 weeks and still need longer to go. In our experience, 2 weeks is the ideal time to cure before consuming.
Since every strain is different, the easiest way to tell is by consuming a small nug after each week, until you are happiest with the experience. We find that “putting it to the test” is the best way to tell when your plants are really ready to go.
P.S. Don't forget to label your jars!
You Now Have Some Top-Shelf Buds
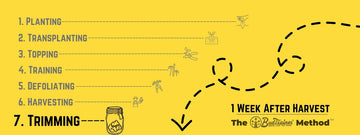
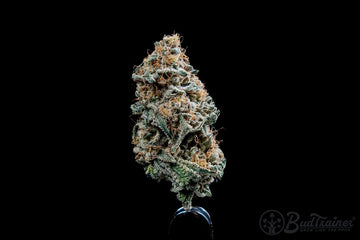
Harvesting, drying, trimming, and curing are the most laborious parts of the entire growing process, and while the concepts are simple it is still extremely important to do them right. Now that you have accomplished all 7 steps of the BudTrainer Method™, it’s time to sit back and enjoy your results.
Learn to Grow Big Buds
And be the first to hear about new articles, product releases, and special events.
About The Author
Henrique, the CEO of BudTrainer®, is a mechanical engineer with a commercial cannabis production post-grad, and is also a former commercial cannabis consultant.
H takes plant science principles and breaks them down into simple steps for home growers to achieve the same results as the pros and grow the highest-quality cannabis.
